Face bleaching at home.
Bleaching is the process to regain the original complexion .This is the process to lighten the dark area of skin.This is to achieve the overall lighter complexion.
It’s required an efficient knowledge of ratio and proportion of ingredients.For different people there will be different ratios and different mixtures required. Disproportionation leads to allergy.After learning from a certified beautician anyone can do this at home.
Test first- Take a little mixture and apply on sensitive skin ,lower side of the neck to test its effect.if there is minor irritation then need not to worry.If its burning then don’t apply.
Area can be bleach-Hair,face,hair above the lips,hand
Advantages of bleaching
- Hair colour changes.
- Blackness due to sunlight becomes lighten.
- Looks natural.
- Prevent growth of facial hair.
Disadvantages of Bleaching
- Skin becomes yellow.
- Skin becomes rough.
Practical
Deep cleansing required before bleaching.By wet cotton and rose water clean your face ,neck,remove eye makeup,face make up.
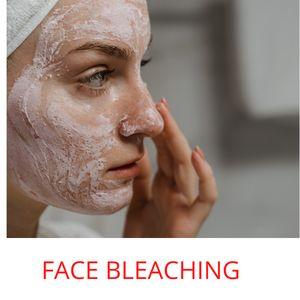
Now you can apply bleaching.Check 5 minutes if there is mild burning then don’t worry .If its burning hard then remove the bleaching mixture immediately.
Allow the pack for the remaining 10 minutes, then wash off.Apply cold cream after it dry.Massage lightly.Apply lotion to remove the burning sensation.If there are red rashes after bleaching need not to panic.
Do Not bleach – if there is pimple /acne.
Materials
- 2 tablespoon bleaching powder
- 1 tablespoon hydrogen peroxide
- Few drops of water
Make the paste by mixing above and apply on the face of the client.If the client gets an allergy then clean that area soon.If that area becomes red then apply ice soon.
Beauty Parlour Full Course-Click here